How to Break in a Glove In 7 Easy Steps
For decades, Wilson Master Glove Craftsman Shigeaki Aso has perfected his glove break-in method. Learn how to break in your baseball glove quickly and easily with these 7 steps.
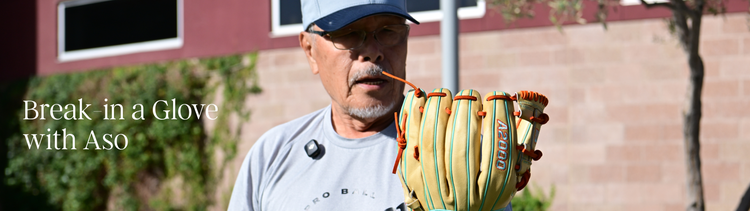
7 Steps to Break in a Glove
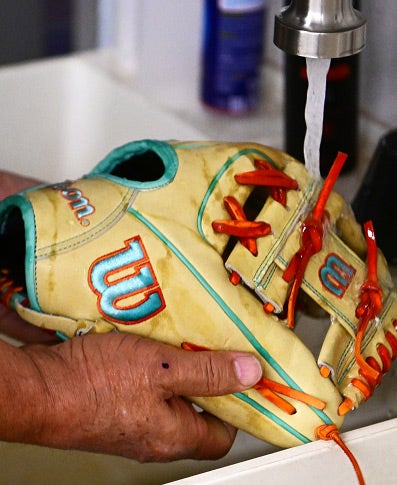
Step 1. Warm Water
Pour warm (not boiling) water into the palm of the glove. Keep the finger side up to prevent water from filling the finger stalls. This step relaxes the leather, allowing you to shape it more effectively.

Step 2. Flexing the Heel Pad
Position the glove with the back of the fingers facing your chest and pointing up. Hold by the thumb and pinkie and squeeze, pulling each side back and forth. This softens the heel pad.
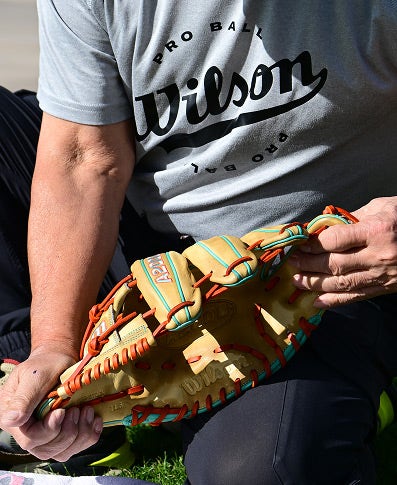
Step 3. Stretching the Top
Hold the glove by the top of the pinkie and thumb and pull in opposite directions. The finger tops and lace will stretch and return to their original state once dry.
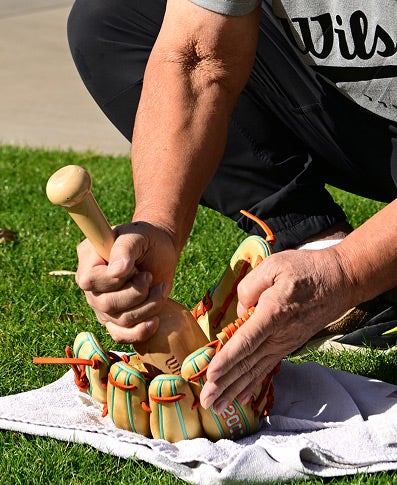
Step 4. Form the Pocket
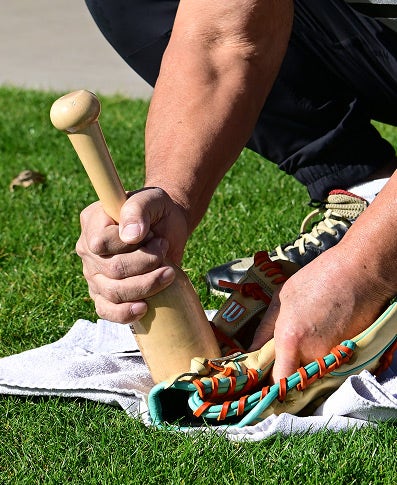
Before beginning this step, consider whether you prefer a deep or shallow pocket. Open your glove and place it on a sturdy, clean surface. Using your mallet, pound and roll in the desired location to form the pocket.
Step 5. Pound the Outside
Choose your glove and pound with your mallet on the thumb side above the wrist opening. Flip your glove and repeat on the pinkie side. This step establishes break points, making your glove easier to open and close.
Step 6. Loosen Top Laces
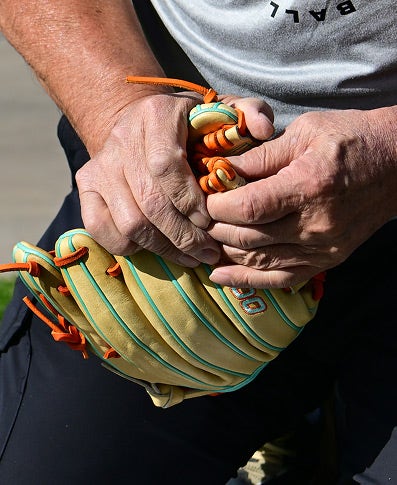
Fold the top of the web (the bridge) into an ‘S’ shape and compress for five to ten seconds. This loosens the web, making it even easier to close the glove.

Step 7. Test Your Glove
Play catch to finish the process and see how your glove feels. Revisit any steps for parts of your glove that still feel overly stiff.
Ball Glove Construction
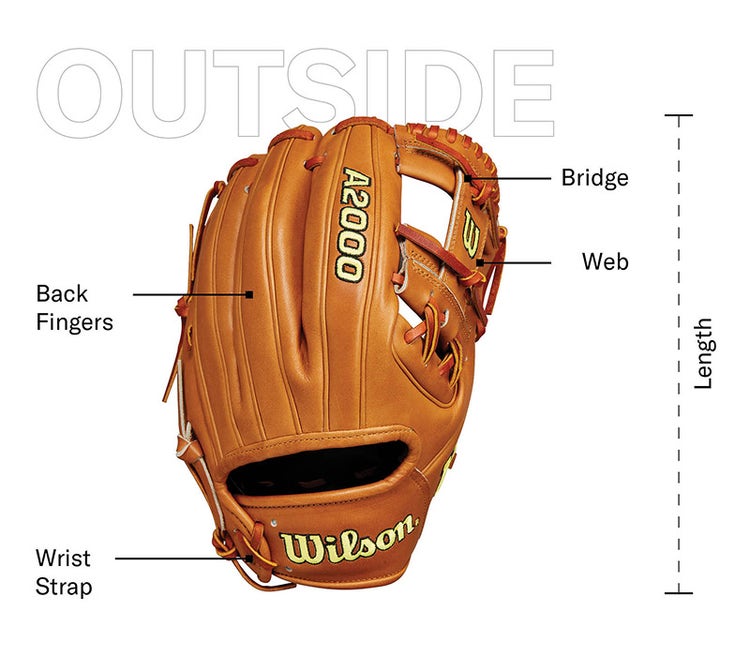
To break in your glove it helps to understand the different parts of a glove’s construction. Use the diagram below to learn what each part of the glove is called.

Updated May 23, 2025